
 Dan McComb is a veteran colorist and editor, based in Seattle, WA. Dan has been a long-time FilmConvert user, and when we contacted him to discuss some new features and product enhancements, he jumped at the chance to try it out.
Dan has some great things to say about using FilmConvert within Davinci Resolve to achieve naturalistic skin tones in a few easy steps, while retaining the power of Resolve:
With FilmConvert’s OFX plugin version, you can get 90 percent of the way to your grade simply by dragging and dropping. It’s a real timesaver for me to load FilmConvert, which knows all about the differences between picture profiles, as my first step. From there, the remaining tweaks are usually simple.
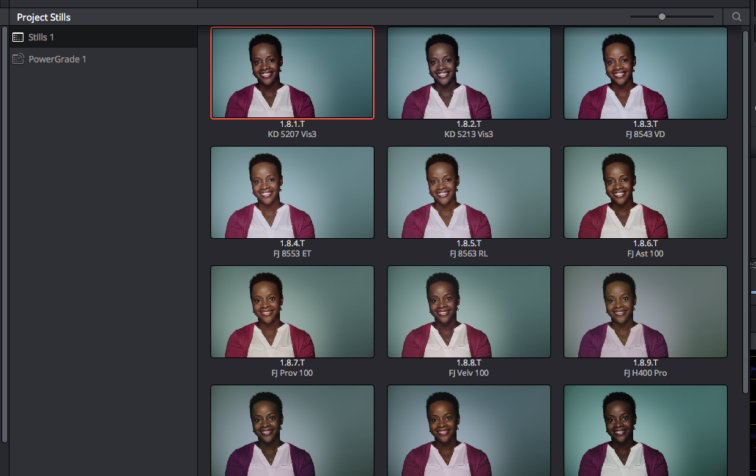
Dan recommends adding FilmConvert as the last node in your node tree so you can make global corrections first. He also has a neat trick for previewing the looks of multiple film stocks using Resolve’s Grab Still tool.
Dan also steps through the process of creating and exporting a LUT from Davinci Resolve to use on an on-set monitor such as the SmallHD502 or 702 monitors. This is great for pre-visualizing the look you’re going to see in post
Overall, Dan loves FilmConvert, and is getting great results for his clients.
Getting a consistent film look is quickly achievable using FilmConvert, without having to delve into the complexities of color correction. And even if you do know those complexities, grading from scratch takes a lot of time. And that’s why I like FilmConvert Pro: it frees me to focus on the story, and empowers me to ship faster. What’s not to love about a tool that can do that?
Check out Dan’s full review below: