The camera sensor technology inside smartphones has improved dramatically over the past few years. Phone cameras that used to be used to capture backyard home videos and holiday snapshots are now capable of shooting 4K video at variable frame rates and with enough dynamic range to be used for professional filmmaking.
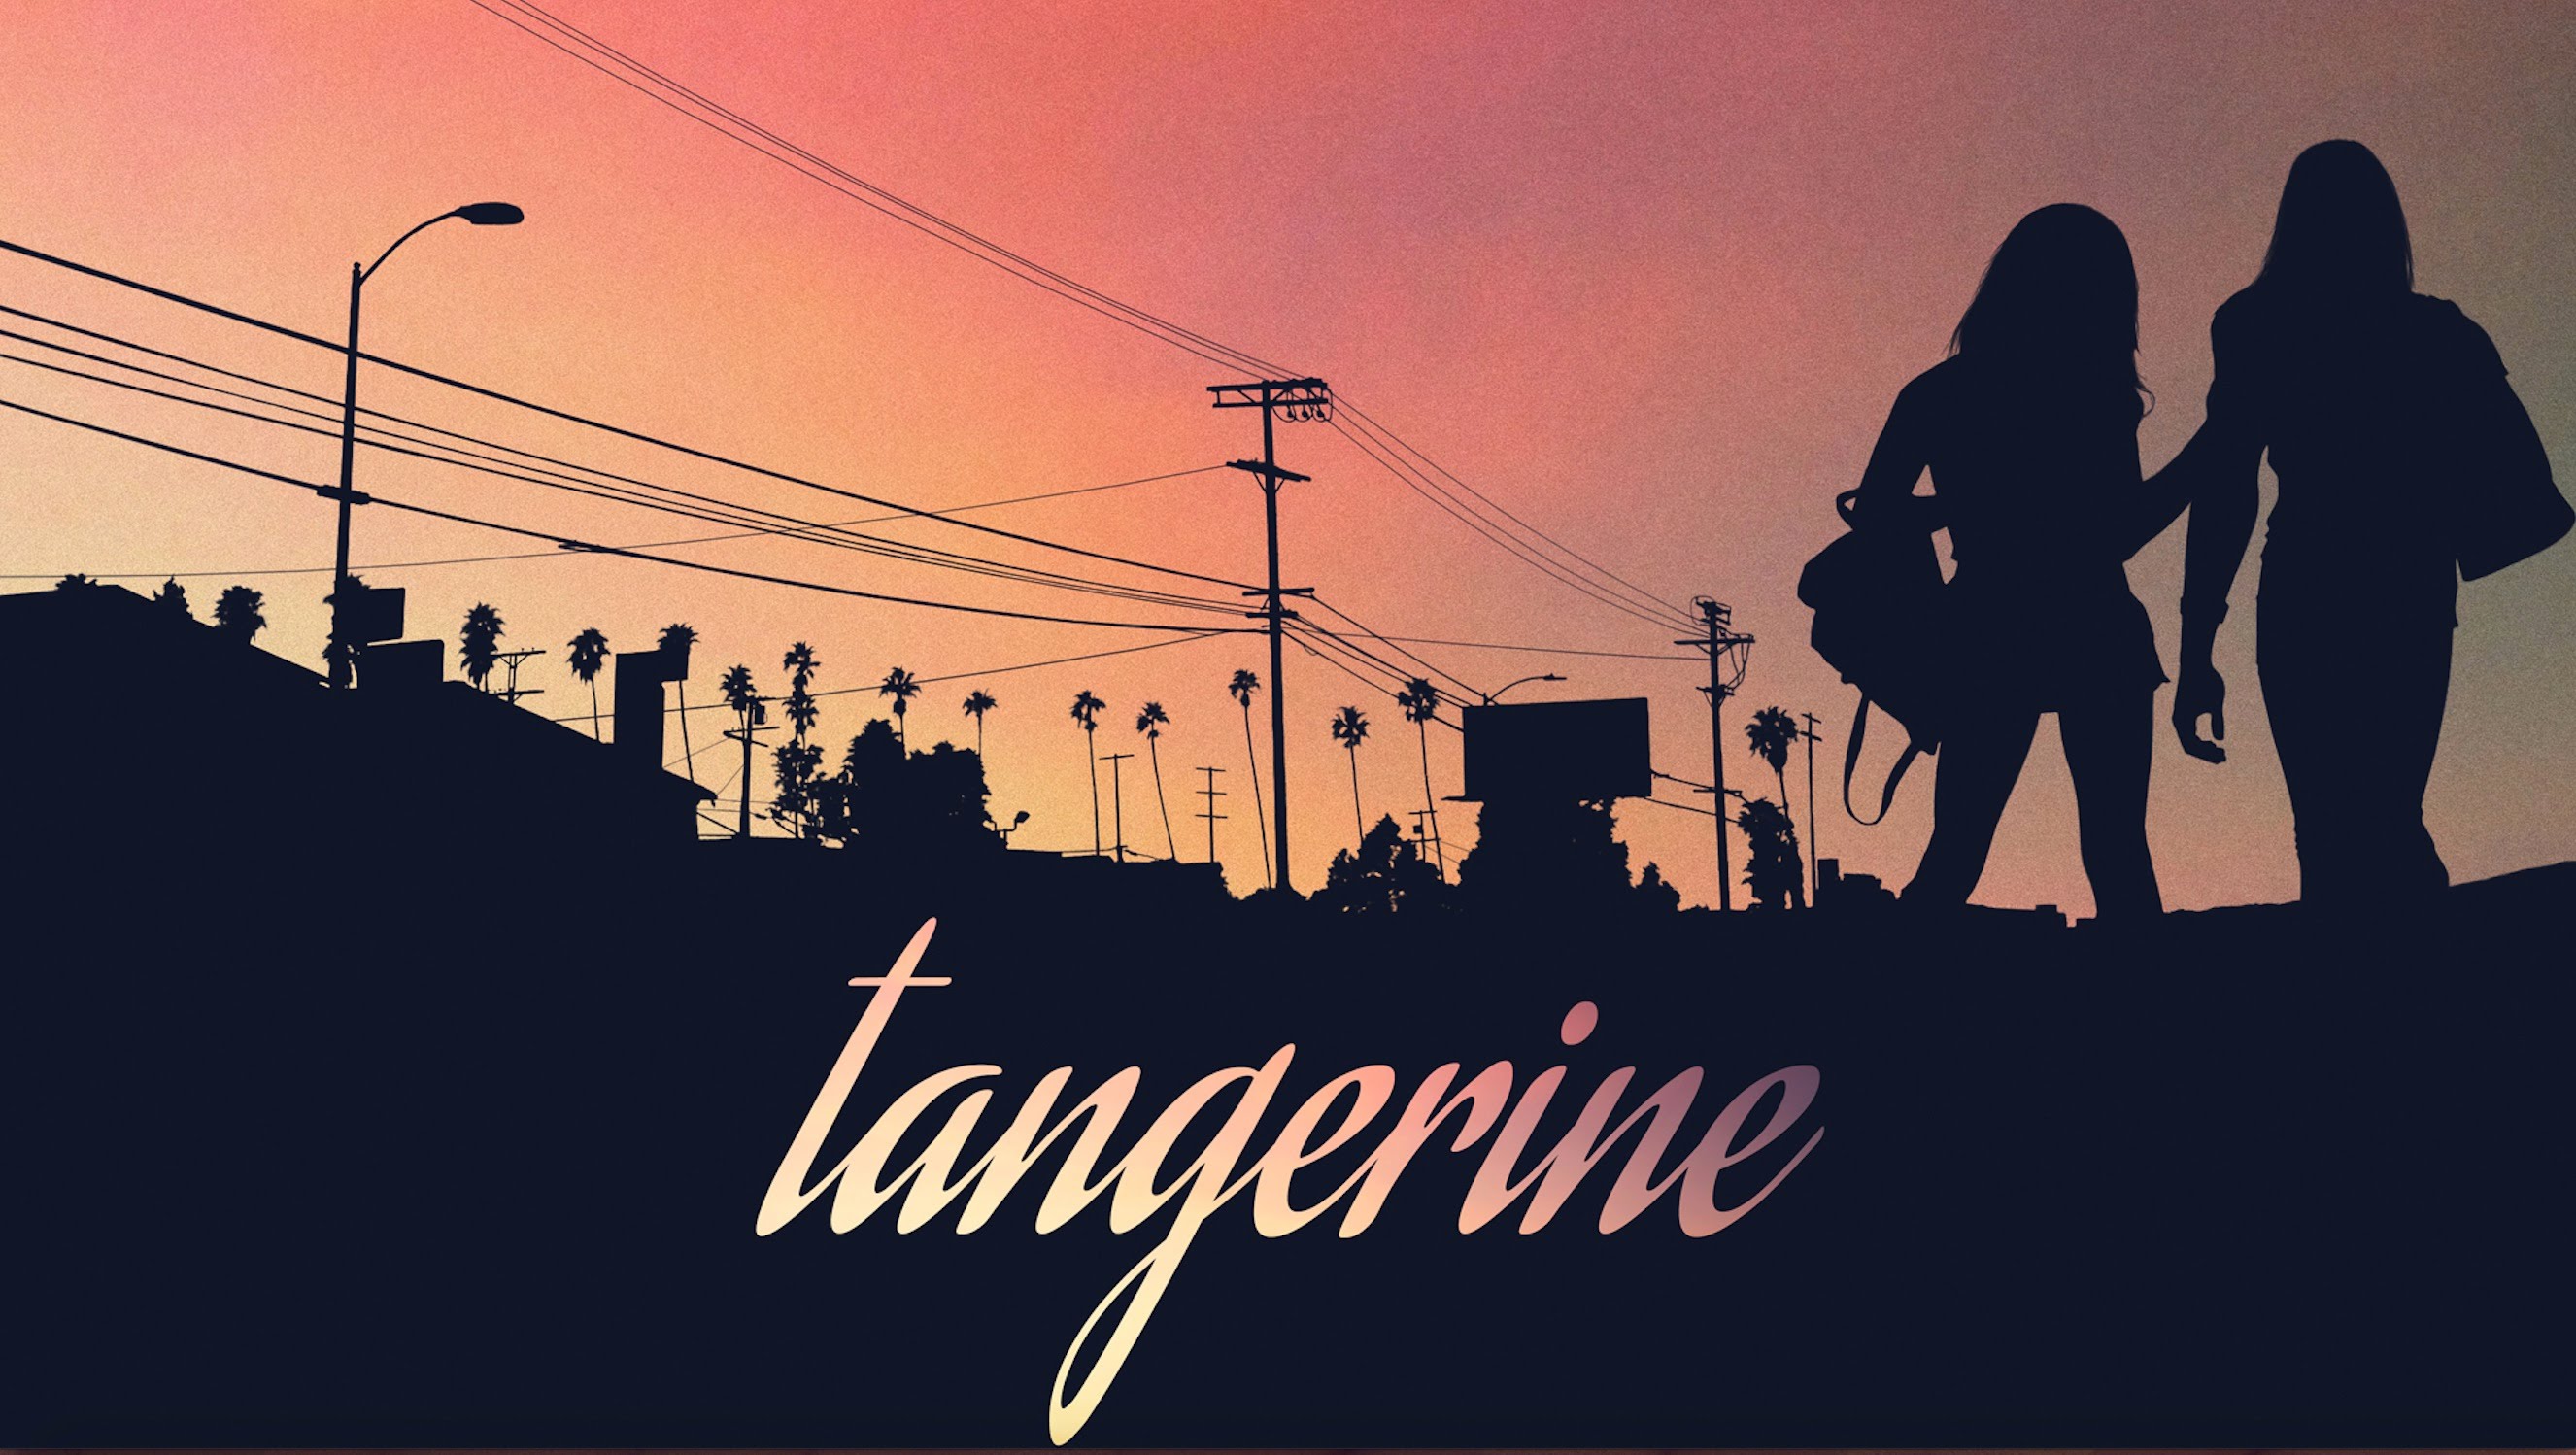
The Sundance Film Festival hit ‘Tangerine’, shows just what can be achieved with creative shot selection, lighting and storytelling techniques – shot entirely on the iPhone, the film has been selected for theatrical distribution and VOD worldwide.
While a smartphone will never be a replacement for a high-end cinema camera like the ARRI or RED, the raw capabilities of the sensor mean it’s possible to get cinema-quality visuals out of the camera you already have in your pocket.
Setting up your iPhone to get the “film look”
While the iPhone sensor itself is an amazing piece of technology, in order to get the most filmic look from it, you’ll need to tweak some settings.
Use a dedicated camera app
Use a dedicated camera app such as Filmic Pro to shoot your scenes. A dedicated camera app gives you manual control over the sensor and allows you to turn off lots of the automatic corrections which could otherwise ruin your shot.
Set your picture correctly
As with any camera, choose your exposure, color temperature carefully and try to set your ISO as low as possible to minimize digital noise in dark areas of your scene.
If you’re shooting a very bright scene, try adding an ND filter or lens to your camera to cut down the light entering the sensor – this will help prevent you from blowing out the highlights, or having a solid-white sky in outdoor shots.
To simulate the motion of film, shoot at 24fps or as close to it as possible. Set your shutter speed to 2x your frame rate (i.e. shooting at 24fps, set shutter speed to 1/48; if shooting at 25fps, set shutter speed to 1/50).
If you’re planning any slow-motion sequences, shoot at a higher frame rate such as 48fps or 60fps in order to give you enough frames to slow down in post.
Use the language and tools of cinema
You can employ multiple focal lengths, either by using third-party lenses, or if you’re lucky enough to own an iPhone 7 Plus, utilize both the wide and telephoto lenses.
By varying your shot composition and focal lengths, you’ll make your film look more professional, as well as give yourself more options in editing, and you can use the frame to exclude certain details or focus the audience’s attention on what you want them to look at.
In the same vein, use a stabilizer or gimble to create smooth, professional-looking camera movement, or use a tripod to lock off your shot, and eliminate shaky shots that can distract from your story.
Use the FilmConvert iPhone profile
Download the FilmConvert camera profile from our website, and install it on your computer, along with the FilmConvert plugin or standalone grading app.
Copy your footage from your phone to your local storage in your computer, and import it into your project.
Drag your iPhone footage to the timeline, apply FilmConvert from the ‘Effects’ menu and for Camera Profile, choose ‘iPhone’.
When your film is online, don’t forget to use #FilmConvert to share it with us!