Jack Fralick – interview
I have been shooting photography since I was five years old, and I have been making films since I was seven. I have been working as a cinematographer for a couple years now. I got into filmmaking due to a mix of photography and my love for cinema. My father was a professional photographer back in the day, so from a young age I was exposed (Pun intended) to a lot of camera equipment and lighting equipment.
My father is also a huge movie buff and from a young age he would show me the classics, François Truffaut, Frank Capra, Alfred Hitchcock, Steven Spielberg, and most importantly to me – Stanley Kubrick. It was after this that I decided I wanted to combine my love for cinema and my love for photography into something more. I wanted to make my own films.
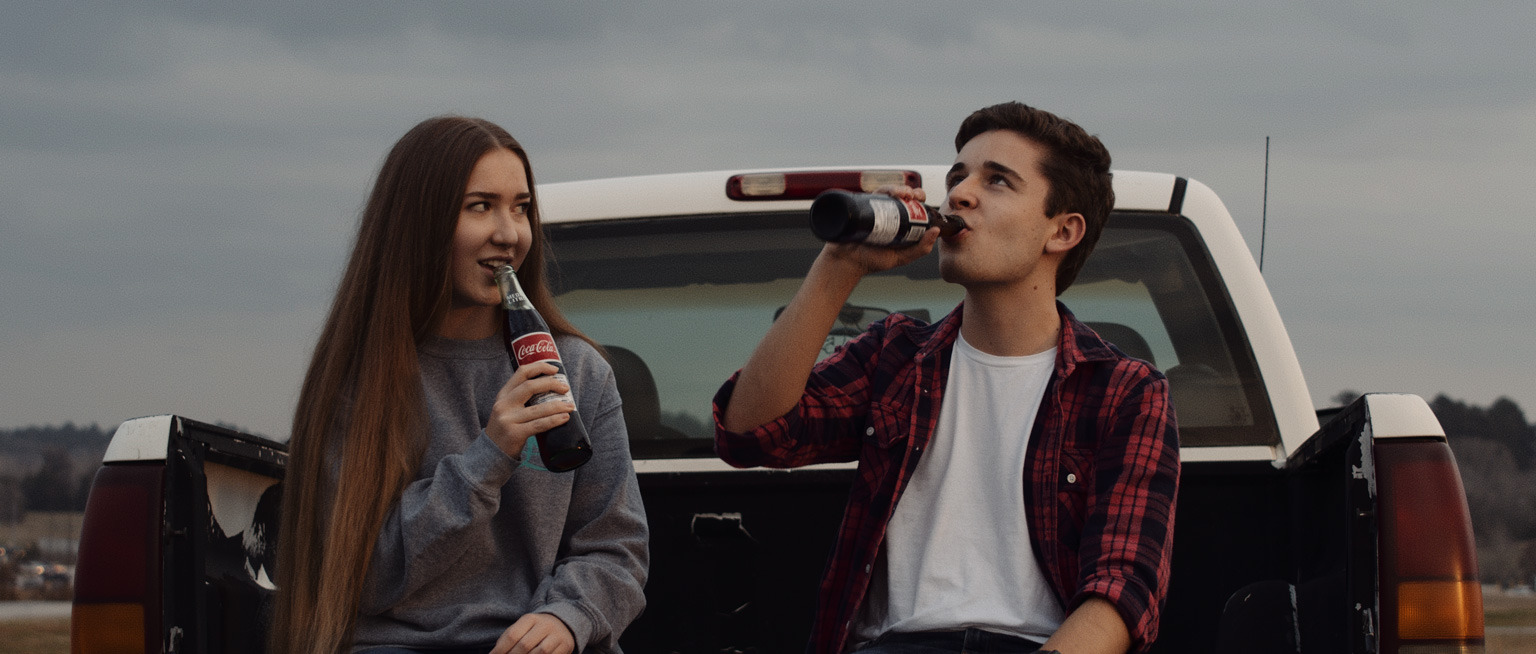
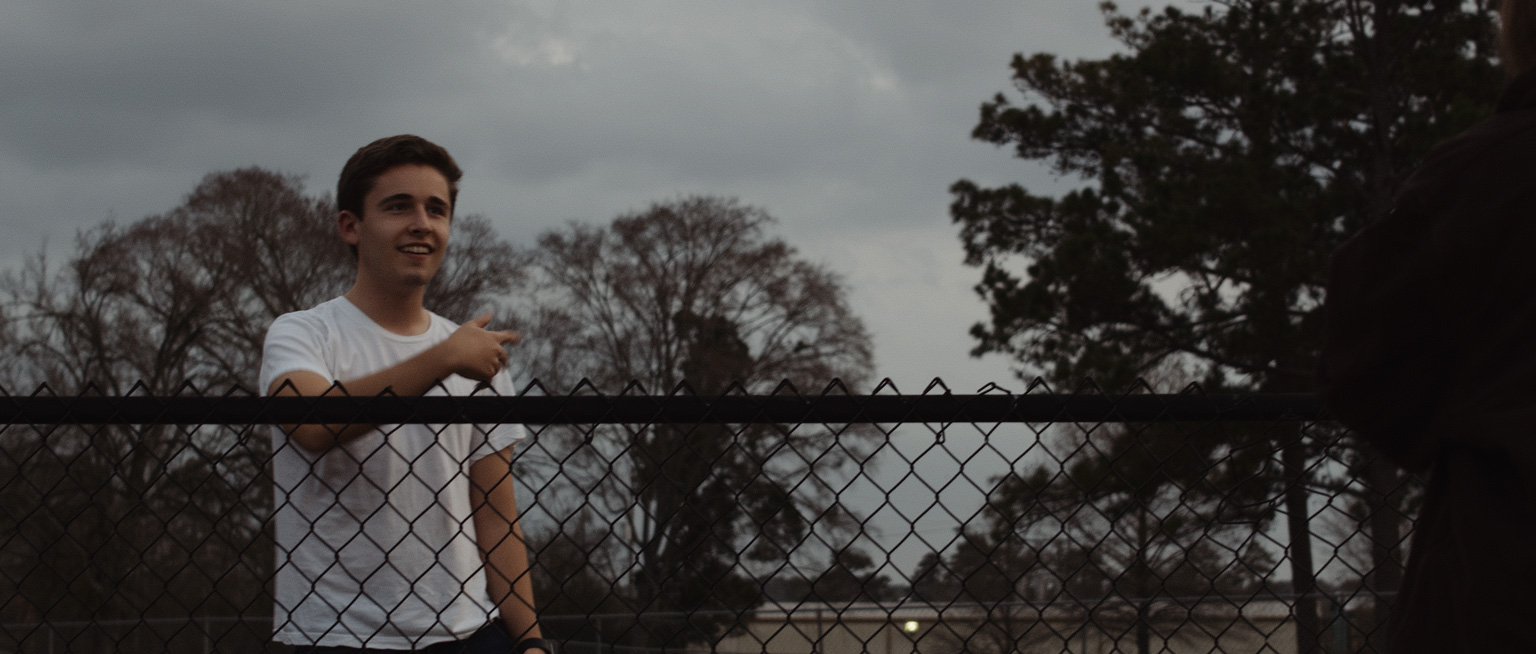
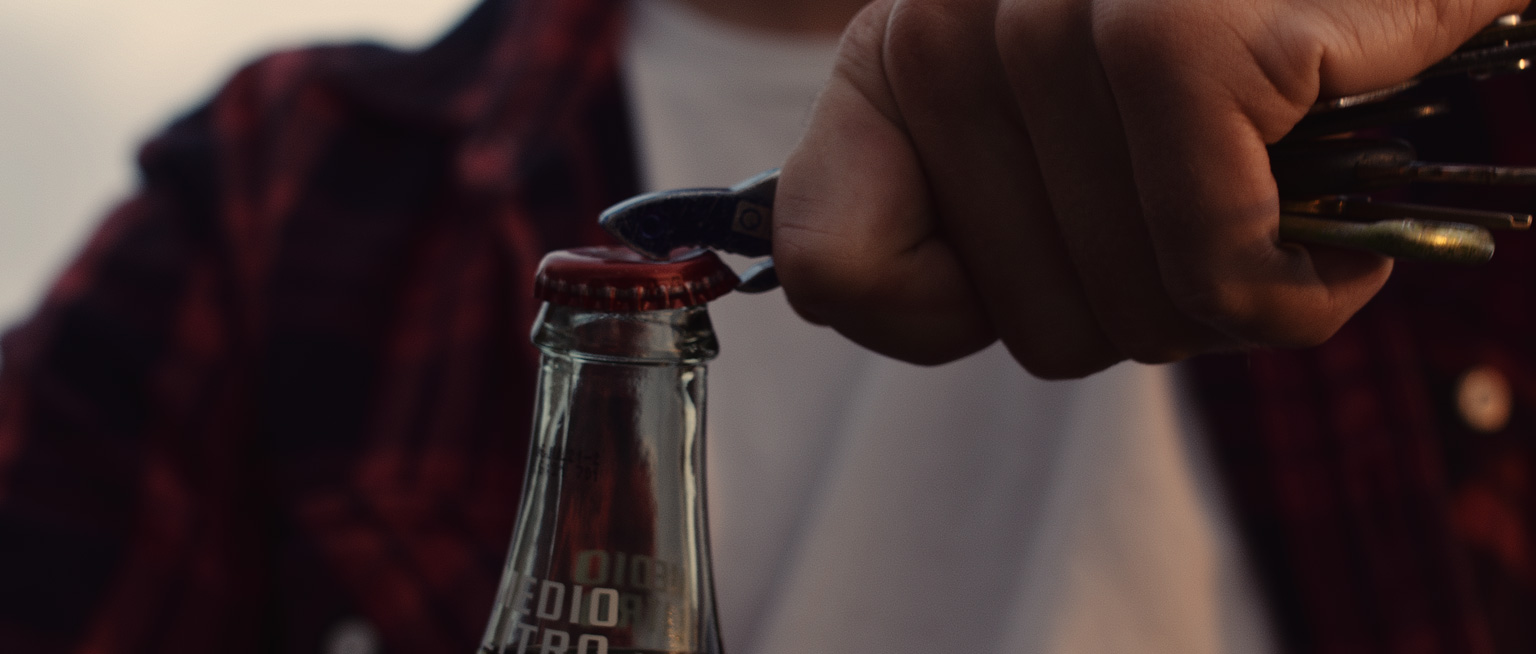
My Film “Dear Emma” came about through an assignment for my film school classes. I am a freshman in film school and was assigned to make a short film for my midterm. “Dear Emma” was the result. It was shot in 3 days, edited in 2 days, and submitted on the 6th day. This simple film school assignment went on to win two awards in the school’s annual film festival- winning “Best cinematography” and “Best sound”. It was the only film to win twice.
I found out about FilmConvert when I was looking for a plugin that would apply a film grain to my footage that would work in both Premiere-Pro and Resolve. When I found FilmConvert’s website, I was absolutely throttled. The sample photos looked incredible, and I knew this would be the right software for the film I was working on when I found FilmConvert “An analog heart- A love letter to analog photography.”
I decided to use FilmConvert for one simple reason- it is the best. When I found FilmConvert, I was already a veteran at color grading. So, when I found FilmConvert, I’m not going to lie, I was totally and completely jealous of the results that it got. So after over two years of teaching myself how to colorgrade raw footage, I made the switch and I have never looked back. That being said, I went with FilmConvert because, A. It was the right look for the project. B. a beautiful looking software when used correctly. C. Would apply a generous amount of grain to my footage which is what I was looking for because it would not only look like film, but the grain would help with color banding.

The look I was going for was a real film look. I have been shooting 35mm film for a very, very long time. (Again, this is due to my father still shooting film from his professional days.) So, the real film look has always been something I was after.

The name of the game when it comes to FilmConvert is exposure. I have found in the 8 months I have been using FilmConvert that the software works its best when I expose nearly perfectly.
A little tip for Blackmagic users- the false color works great for other workflows, but if you are shooting something with FilmConvert specifically in mind- the results will need work to be usable. Therefore, I use a light meter for everything now. I currently use a Sekonic L-858D-U Speedmaster, however a simple phone app meter got me similar results.
For my settings, I use the BMDPCC6K Film gen 5 camera profile. For filmstock, I almost exclusively use KD 5207 Vis3, as I have found it to be the best-looking stock for what look I am after. FilmConvert will almost always blow out highlights, but they have a really simple fix- just drag the exposure down on the FilmConvert FX tab. It brings back everything very nicely.
A couple more tricks I use- I white balance my footage as much as I can in camera, then if I need, I will go and change it in the Raw metadata. I found that using Lumetri Color does not get as good results as changing it in the raw, at least when it comes to FilmConvert.
And lastly, take a moment and export FilmConvert as a 3D LUT then import it to your Blackmagic pocket 4k/6k. It will give an extremely close look to what the footage will look like when you apply it in post- just do not bake it into the file. (Blackmagic cameras don’t accept 3D LUTs that are 64 points, so if its not importing to your camera- Select a smaller option.)
For other effects, I usually keep the film grain at 100%. Going over that actually freaks out then breaks YouTube- and will ruin your footage as it can’t really play footage at say- 150% grain without becoming distorted. (A mistake I made on “Dear Emma”) So, I just keep it at 100%.
I also take my 6k footage and put it in a 2.35:1 aspect ratio timeline, at a resolution of 3840×1620 which is 4K on YouTube. I don’t really know why- but this is the absolute best resolution for YouTube hands down. Just be sure to shrink your footage to 63% to fit the 4k timeline.
The final setting I’ll share is the export settings I use for YouTube. I made this mistake when I uploaded the film “Dear Emma” And I will never make this mistake on another film ever again. Never export your FilmConvert footage in H.264. Its too lossy for your amazing FilmConvert footage.
Instead, I recommend exporting in QuickTime with a video codec of “Uncompressed YUV bit 4:2:2”. I have come to this decision after over 200 upload tests on YouTube and these being the best setting for FilmConvert. (For windows users like me, you wont really be able to see your QuickTime footage until it’s uploaded unless you download the QuickTime player. (A warning- you will see a color shift though the player that you won’t see in the final upload.) For longer films, ProRes 422 HQ works great too.