
Thomas Hogben
Give us a bit of detail about yourself – background, profession, how you got into filmmaking and your current role
 I’m based in Scotland and grew up in the Highlands, before going down to Edinburgh to study Photography and Film Production in 2008. Following this, I had a real interest in visual effects and completed a MSc in Animation and Visualisation. From there I have been lucky enough to work as an aerial camera operator with the Aerial Frontiers team on commercials and dramas all over the place, and with my focus as a Documentary DP and I have just recently finished my second project for the BBC with director Kieran Hennigan.
Tell us about your film – how did it come about?
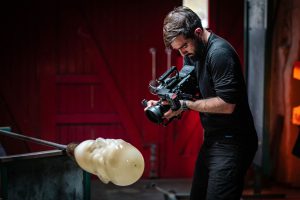
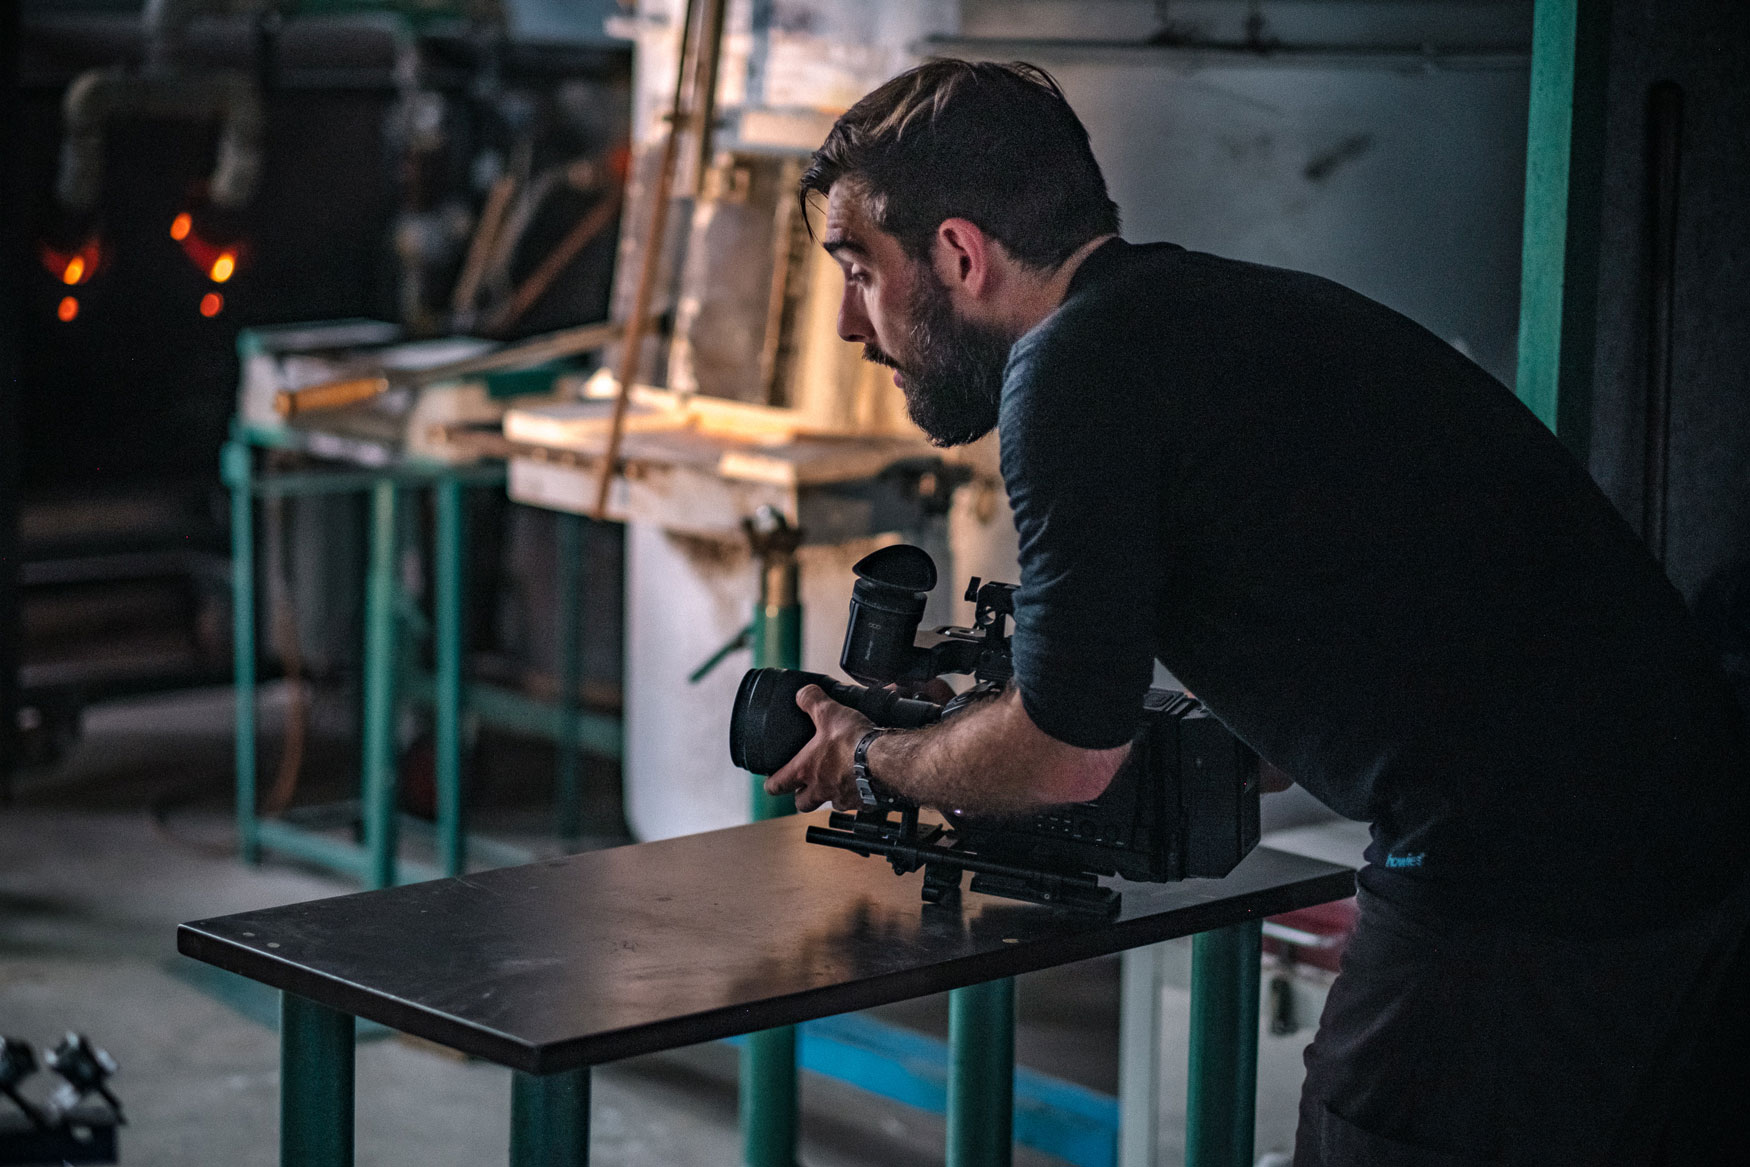
This project, The Soul of a Statue, came about through residency I was awarded at North Lands Creative. They are a small artists community based in the far north of Scotland that focus on developing some of the worlds best glass artists. Martin Janecký who is the glass sculpture depicted in the film, is an extraordinary artist and one of the best in the world and my residency was focused around collaborating with him to document his craft. When I first began this project, I knew that I had to find a way to reflect the intense, almost trance-like, process Martin Janecký endures when creating these astonishing pieces of work. Some of the pieces we filmed take Martin 6 to 7 hours to create, and due to the nature of glass, he is afforded no breaks throughout the process as the glass requires constant attention.
It was always going to be a near-impossible challenge to translate the extremes of the process which Martin sustains into a film, but I feel like I have at least captured the drama and intensity which he brings to his craft. Overall, I hope that it gives the viewer an insight into the craft of one of our great living artists.
How did you find out about FilmConvert?
I was a long time user of Colorista and layering in film grain, having grown up editing and finishing in Premier Pro, but over the last few years I had moved over to DaVinci Resolve but I struggled to find a tool that was both efficient and effective. I spoke to a few colourists I knew and they mentioned FilmConvert, especially as a way of adding organic looking grain in DaVinci.
Why did you decide to use FilmConvert for this particular project?
I knew going into this project that I needed to develop a workflow that was more efficient than what I was using before, as I had just moved up to shooting on the Blackmagic URSA G2 and we planned to shoot at 4.6K RAW at 120fps for large part of the project. I did some tests between my old workflow and using FilmConvert and there was substantial improvements. I could basically play back with no slow down with the look and some power windows enabled, rather than having to being limited to playing back at 12 fps or below with my original workflow. I don’t what the difference is between the tools, but FilmConvert for me just worked much more efficiently.
What was the particular look or style you were going for with your video?
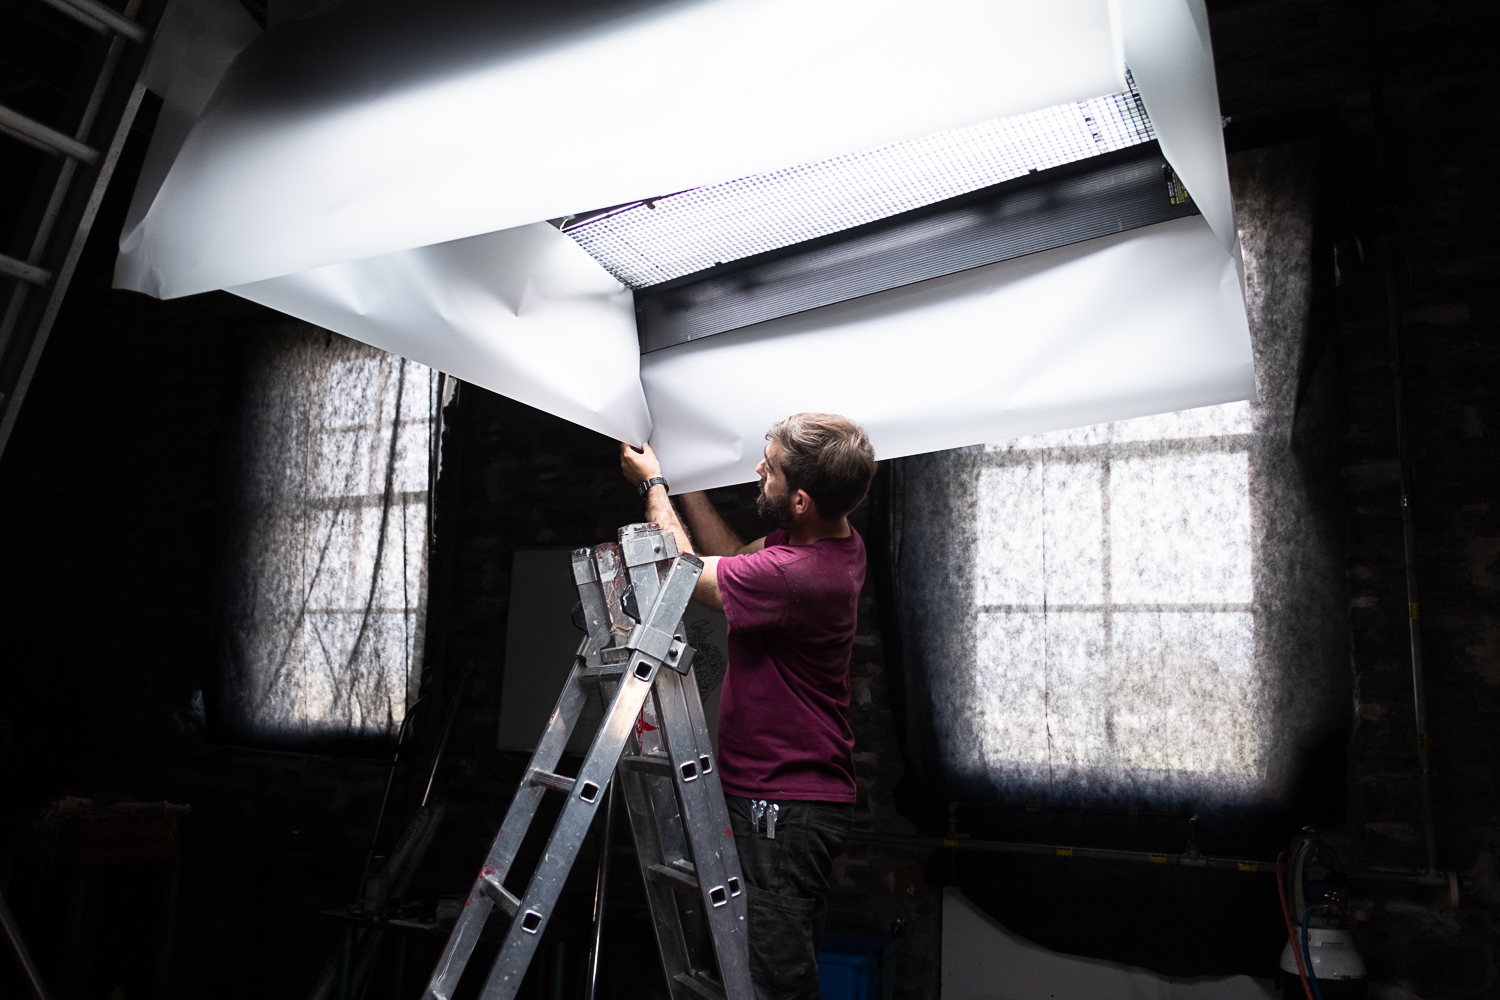
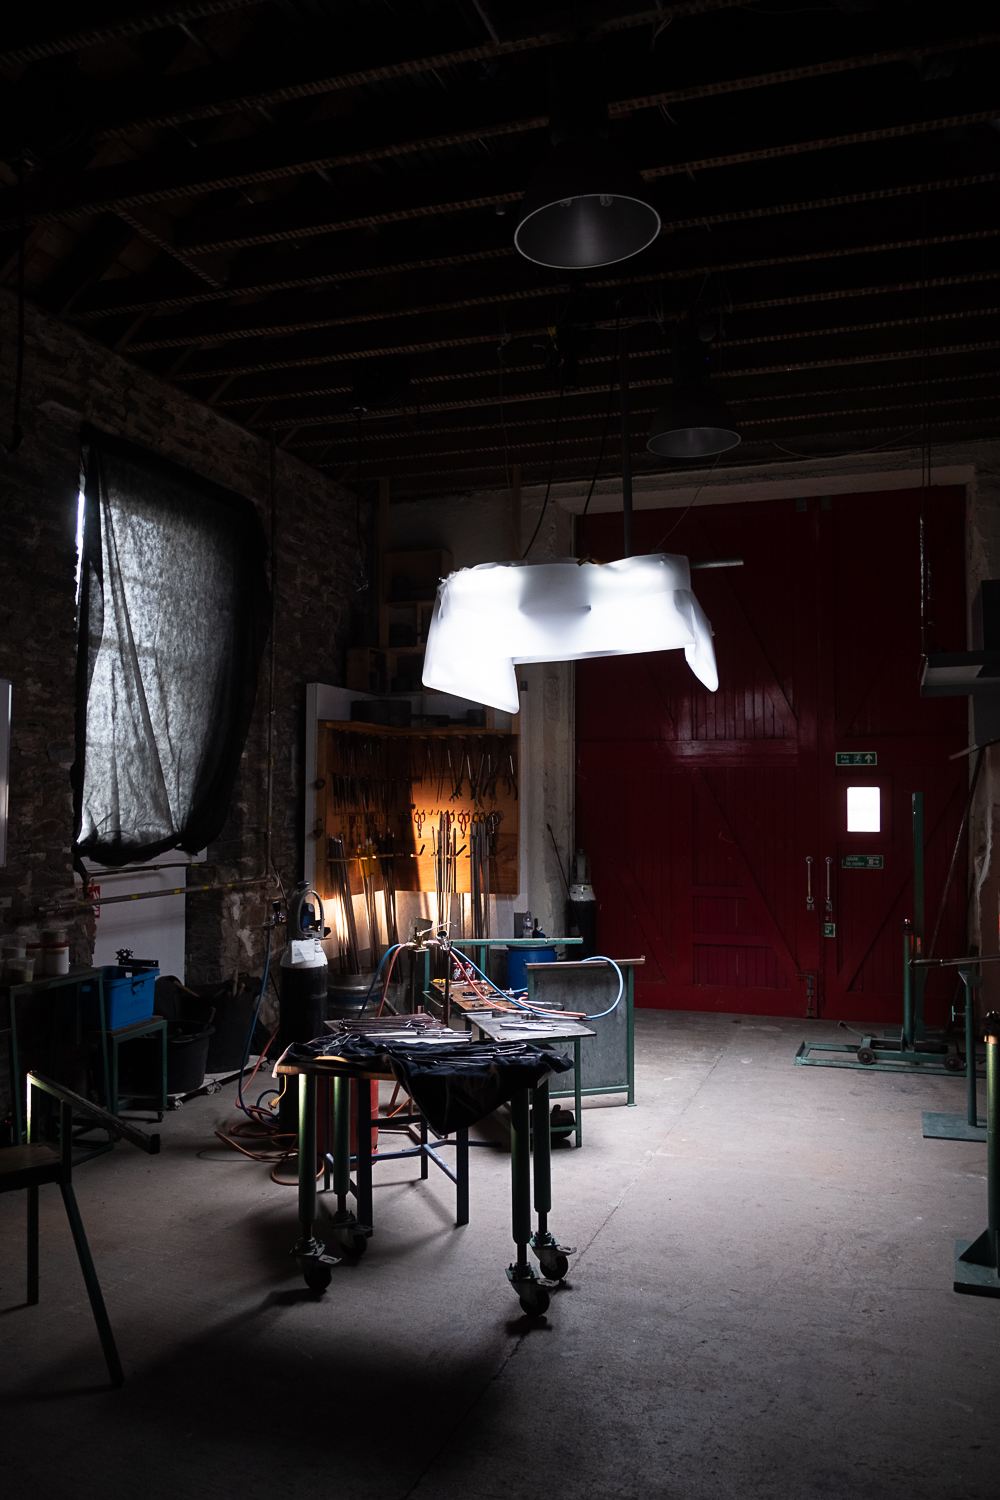
I wanted to really push the drama of the fire, heightening the lights and the darks of the piece, as much as the warm and cool of the interior hot shop elements to those out at sea. The lighting was designed to isolate the sculptor as it came to life, and let the background fall away into shadow. Martin moves so quickly that I also set it up so that we had a 360 set to shoot in, so I could always be moving and trying to capture a glimpse as it took shape.
Tell us about your workflow. What settings, film stock, camera profiles and tweaks did you use in FilmConvert?
I worked in DaVinci for the whole project. I have been slowly moving over to their system for a while, and made the jump in 2019 to editing and finishing with DaVinci Resolve. Its not perfect, but I found it much more stable than Premier and the finishing tools are far superior. I use a pretty standard node setup where I add Noise Reduction first, then correct Exposure & Saturation before working on skin tones and any isolated elements I need to tweak. I do all this before I then add the look with FilmConvert.
I really love the look of the Kodak 5213 Vision3 stock, and used this throughout the whole project. In addition to this I also preferred the way the the Blackmagic URSA footage was processed when using the Arri Alexa LogCfilm profile. It just reduced the contrast a touch and seemed to smooth out the footage I also turned down the Grain settings at this stage to zero, as I like to add in my grain at the very end of the grade. But that’s it, it was really as simple as that, and that’s one of the main reasons I wanted to use FilmConvert, as it allows you to treat your digital footage more like a celluloid film stock.
Having now added my look, I added in the vignette with a mask, before sharpening and then adding a second FilmConvert node for the Grain. To do this I just bring down the film settings (Film Color / Cineon to Print Film) to zero so that there is no adjustment to my look and then bring up the Grain strength. I stuck at 100 strength, 4.0 size, 100 saturation and 0 softness for the majority of the film as I was able to keep pretty consistently at ISO800. Where I had to push the ISOI dropped the grain strength down to 80 or lower depending on the shot.
There was also a handful of shots we picked up on the Panasonic GH5 on the RoninS, and the aerials were on the DJI Mavic 2 Pro. I treated these in the same way, but transforming there colour space from their native log to Arri Log C before beginning the grade. Even though we recorded ProRes 422 to a Atomos Ninja V with the GH5 I struggled to get the colours to match. I found that the Temp and Tint tools within FilmConvert were super useful, as they have a much subtler effect than the standard DaVinci Temp/Tint settings and are easy to use than pushing the Lift Gamma and Gain colors.
What other effects or tweaking did you use?
Digital, I really didn’t push things around too much. I let the Kodak 5213 Vision3 stock look do most of the work for me, and used the occasional power window to focus attention. When we were shooting I used pieces of discarded glass to whack the lens, create the flares and twist the light you see in the film. There was something about shooting through the discarded glass as Martin crafted this perfect sculpture that I really wanted to capture. Almost as if the glass itself was fighting back as bent it to his will.
I didn’t really realise how much I had relied on that Kodak film look until I went back and looked at the grade… its pretty awesome how effective it was for creating the look I wanted.